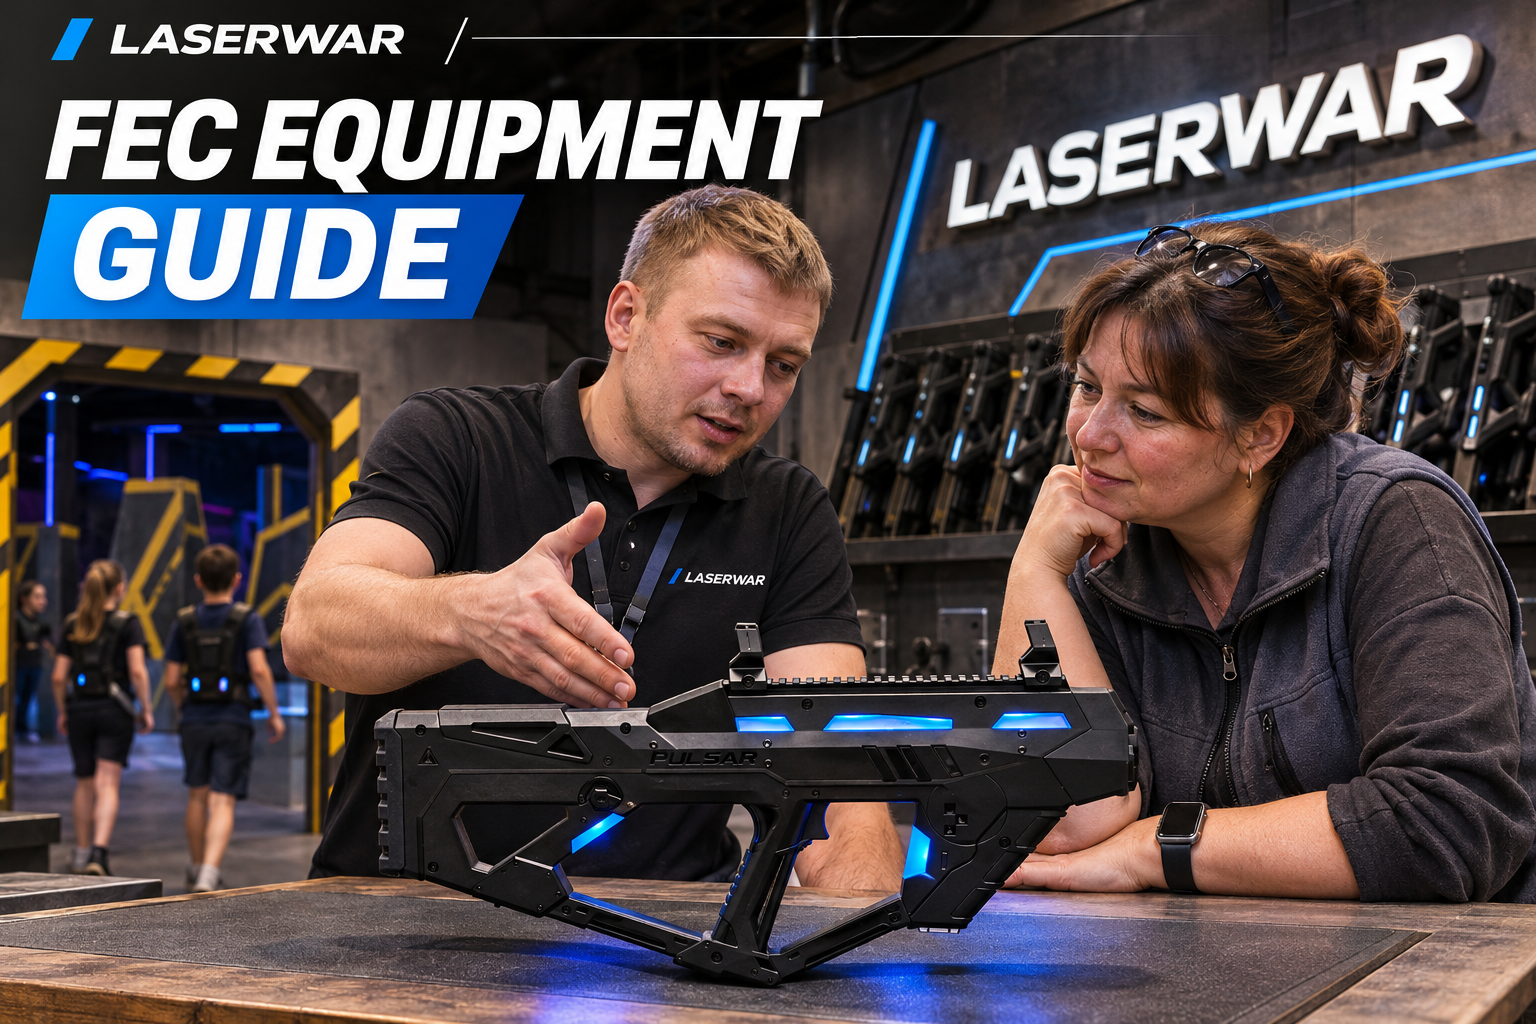
The right laser tag system for a US family entertainment center should fit the people who will wear it, the sessions you sell and the team that resets it. Start with that operating brief. Then specify the electronics, sensors, charging and software as one complete attraction.
A blaster price is only one line in that decision. A good purchase also gives you a workable fitting process, complete reserve sets, a charging plan and an agreed way to recover when a device needs attention. This guide turns those requirements into a brief you can send to LASERWAR before comparing configurations.
Start with the session you intend to sell
Write down the maximum players per round, the typical age range, your intended session length and the time allowed for briefing, fitting and reset. Include your quiet weekday pattern and your busiest birthday-party schedule. Those two patterns often place different demands on the equipment room.
For example, an operator planning 12 active players and two complete reserves needs 14 compatible blasters and 14 suitable sensor arrangements. That is a planning example, not a standard LASERWAR bundle. Keep your own active-player requirement visible when a quotation includes bonus items: decide whether those items are for capacity, reserves or a later expansion.
Plan complete active and reserve sets
This arithmetic counts equipment positions, not charging compatibility or a supplier's bundle contents.
| Decision | Write this before requesting a quote | What it changes |
|---|---|---|
| Players and schedule | Active players, reserve sets, round length, reset interval | Fleet size and charging capacity |
| Guest mix | Smallest intended players, adults, mixed groups, accessibility needs | Fit trials and sensor choice |
| Venue | Layout, cover, floors, storage and equipment-room location | Network survey and handling routine |
| Game presentation | Briefing, team colors, scoreboard, results handover | Software, displays and operator training |
| US destination | Delivery address, opening date, site electrical supply | Delivered quote and installation checks |
Choose the fit before choosing the finish
A fitting demonstration should resemble a real visit. Ask participants to put on the equipment, reach the controls, move around cover, crouch and remove it again. Check loose straps, sensor visibility and the operator's ability to correct the fit quickly. A short try-on by one adult cannot establish suitability for your whole guest mix.
A vest gives you a visible body-worn part of the attraction. A headband offers a different wearing experience and leaves the torso free. Neither label answers whether a particular child or adult will be comfortable. Test the actual model, not a photograph or a general statement that a design is adjustable.
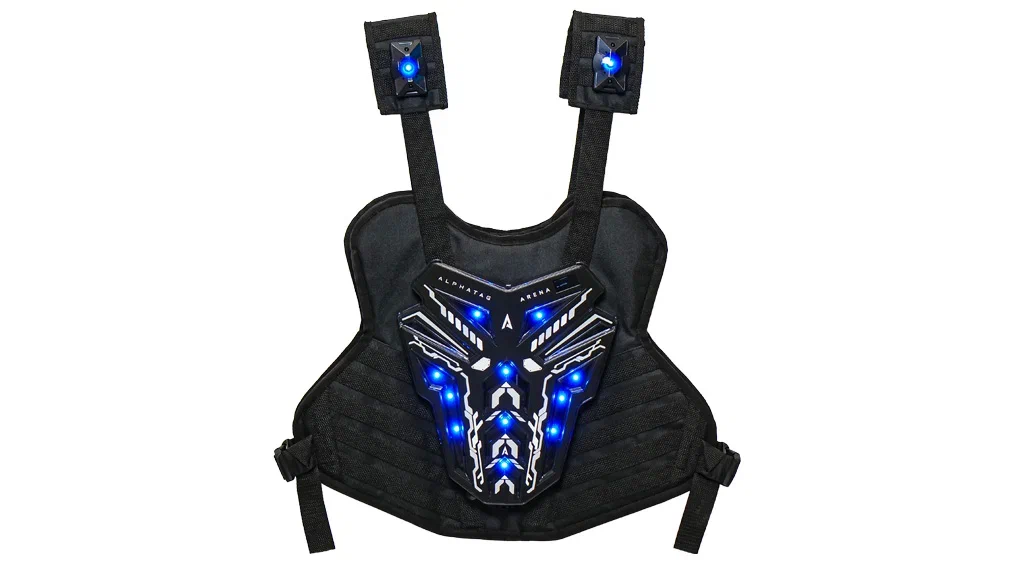
The X-Gen vest page describes four front and four rear sensors and an adjustable fit. An alternative vest configuration is available; confirm the supported sensor and tagger arrangement in your quotation. Keep the specific model and configuration together when you compare offers. Official X-Gen vest details.
Keep the weight of the complete arrangement in view: blaster, sensor, straps and any fitted accessories. Ask for the weight of your selected assembly, and distinguish published component weights from a complete kit weighed for your project. The heavier-looking model in a photograph is not necessarily the heavier assembly.
| Check | Observe during the demonstration | Record in your decision |
|---|---|---|
| Reach and handling | Can guests use the trigger, reload and other required controls comfortably? | Model, accessories and intended guest group |
| Vest or headband fit | Does adjustment hold without covering sensors or restricting movement? | Fit limits, adjustment steps and exceptions |
| Turnaround | Can staff fit, remove, inspect and prepare it within the planned reset? | Observed staff time and training required |
| Care | Can staff follow the specified cleaning and drying procedure? | Approved materials, removable parts and stock of replacements |
Specify the exact system, not just “Pulsar”
LASERWAR's AlphaTag Arena platform pairs a Pulsar blaster with a Protector vest through a wireless connection. The platform is one option for an arena-focused FEC brief. Its official system overview also shows how charging, scenario devices, remote control and a router belong to the wider installation.
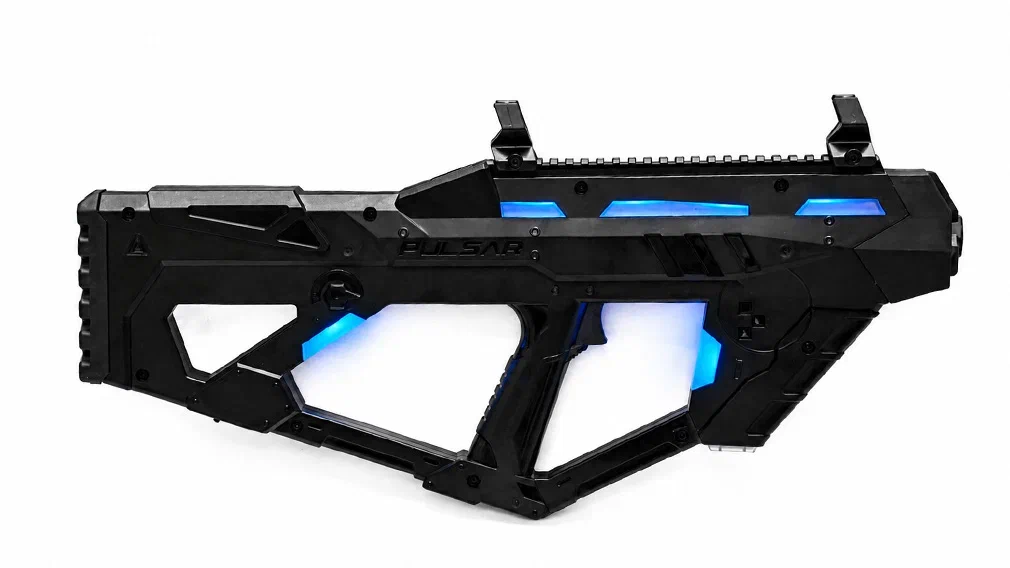
Names can cover different configurations. The separate Pulsar Special Series product page, for example, offers electronics and optics choices and states that hit sensors and chargers are separate unless selected. Do not transfer a battery specification, software capability or accessory list from one Pulsar version to another.
Ask the supplier to identify every blaster and sensor by model and generation. Include firmware, optional displays or feedback, optical system, battery and charger compatibility. Put the same detail against each reserve set. Standardization can simplify staff training and spare-parts stocking; any mixed fleet should have a clear operating reason.
Design charging as a daily task
List every battery-powered device, its approved charger, its charging connector and the number of simultaneous charging positions available. Include reserve equipment, remotes and game props. Then walk through the closing procedure: inspect, identify exceptions, connect the correct devices and verify readiness before the next opening.
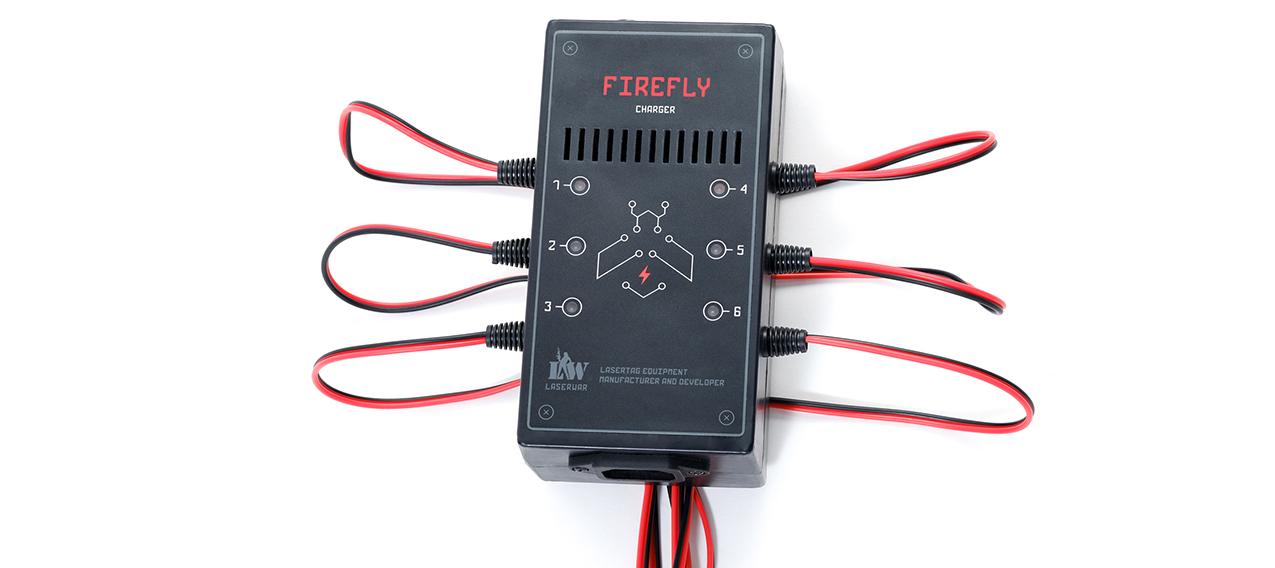
For a US installation, obtain the input voltage and frequency rating, approved power supply, plug or cord arrangement and total electrical load in writing. LASERWAR's general operating article describes one Spider arrangement connected to a 220 V outlet. That description is a reason to check the supplied version before ordering; a different plug alone does not establish voltage compatibility. Operating and charging instructions.
Use the instructions for the exact supplied hardware and battery version. Label charging positions by device family where necessary. Place storage and charging where staff can supervise them and keep guest circulation clear. Establish a separate, clearly marked location for equipment awaiting inspection so that a faulty set cannot accidentally return to service.
Treat the local network as part of the attraction
Describe the software functions you actually want: configure a game, monitor its progress, show results on a display and retain or export the session record. Then ask for the supported computer, operating system, network equipment, connection procedure and software version for your selected generation.
Internet access and a working local network are different requirements. Demonstrate the planned workflow with the internet connection disconnected while leaving the local equipment network operating. Then test a local-network interruption separately. Record which functions continue, which pause and what happens to results after recovery. See the companion ALPHATAG and X-Gen software workflow guide for a version-specific discussion.
Walk the real play area with the intended number of sets active. Check reception behind the cover you will install, not just in an empty room. Position the router and operator station according to a demonstrated plan. Keep the attraction's operating setup documented so that a shift change does not depend on one employee remembering the correct settings.
Finish the order with an acceptance plan
Before approving the final configuration, agree what you will check on delivery: inventory, fit, charging, a full simulated session, statistics and recovery after a controlled interruption. Use the equipment acceptance test worksheet to record the actual configuration and outcomes. A demonstration becomes much more useful when both sides know the acceptance criteria beforehand.
Ask for a delivered US quotation with the active and reserve fleet separated, all chargers and accessories itemized, software terms identified and support arrangements stated. Include who handles shipping and any charges that remain outside the quote. The supplier comparison guide helps you send the same brief to different suppliers.
Finally, connect the equipment decision to the business model. Put the delivered equipment cost, reserves and ongoing care into your five-year ownership worksheet and the wider laser tag business plan. Choose the configuration that fits your planned operation, and keep the evidence that explains why.


